: Don't Eat the Spatula: dessert - Don't Eat The Spatula
Showing posts with label dessert. Show all posts

Thursday, April 20, 2017

Single Serving Chocolate Birthday Cake + A Special Giveaway (AIP, Paleo, Vegan)


A Year in the Life


This past weekend, we celebrated a very special moment. One year ago we met our beautiful little girl for the very first time. We brought her home to our house and introduced her to her three fur siblings and then thought, now what? LOL. Let's face it, no one knows what the heck they are doing as first time parents. It's nerve wrecking, and terrifying and wonderful all at the same time. As each month passed, my husband would say to me, "well we made it one more month." We all still had our fingers and toes and everyone, for the most part, was doing well. Those first few months felt like years of time as the passed. All the time and energy I spent trying to have a beautiful breastfeeding relationship with Emily now seems so distant and a drop of water in the ocean (read about our journey here).

Then in a blink, it was time to let Emily enjoy all my favorite foods as we began baby-led weaning. No surprise at all, she was a natural foodie baby and loved everything I gave her. If you don't already, follow me on Instagram where I often share pictures of what she is having each day. Right around 6 months, was the moment I am sure the world started spinning faster and time sped up because the next thing I knew, it was less than two months until her first birthday and it was time to plan to celebrate a whole year of her life.


To Smash Cake or to Not Smash Cake?


I must be honest, I was not even originally planning on having a smash cake for Emily's birthday. I just didn't see all the hype, and since she is such a fantastic eater, I didn't expect there to be any smashing. BUT after attending a few of her friends first birthdays I couldn't help myself. I wanted her to experience that as well, and then one day we can look back at those pictures and I can share the whole crazy day with her.

When I finally decided to have a birthday cake for Emily, I knew two things right away.

  1. I will be making it from scratch.
  2. It will use my most favorite flour ever, Otto's Cassava Flour.

Recently, I shared this AIP Chocolate Mug Cake recipe which was in inspiration for the cake. I decided to remove the sweeteners from the cake and add applesauce. This required a little adjusting of the other ingredients. For the frosting, while I knew a simple coconut cream frosting would work just fine, I really wanted something that was more frosting like in texture. While Emily does not eat strict AIP (she does eat eggs and many other paleo foods), I decided to keep this as an AIP cake so that I could use it for other occasions.

I have tested this recipe three times now and Emily has had it twice. I can say for certain it's a winner for both mommy and baby. What I also love about this cake (having tested it so much) is that both the cake and frosting can easily be separately  made ahead and assembled wherever you need them. Or you can make then entire cake ahead, freeze it, and travel to your destination. For Emily's birthday, I made the cake and frosting two days before the party and kept them in the fridge. Then the day before, I put the cake together and froze it and drove to my parents house (2 hours away) and it kept in their fridge until the party the next day. It turned out perfect!

Emily's Birthday Giveaway

Not only am I sharing this delicious birthday cake recipe with you all, but Otto's Cassava Flour has so graciously agreed to giveaway a 5 lb bag of cassava flour to help celebrate Emily's birthday. To enter for a chance to win a bag of cassava flour comment below who you plan to make this birthday cake recipe for next! The winner will be chosen on Sunday, April 23 at 12:00 pm EST. (for U.S. participates only). This giveaway is over. Congratulations, Rebecca Nicodemus for winning a bag of Otto's Cassava Flout. Thank you for all those who entered.


Single Serving Chocolate Birthday Cake


Ingredients


Cake:
Frosting:
Option: fruit juice or vegetable juice to color frosting


Instructions
  1. Preheat oven to 350 degrees F. Lightly grease two 4-oz ramekins or a muffin tray.
  2. Start making the cake batter by sifting the cassava flour, coconut flour, carob powder, and baking soda into a large bow. Whisk to fully combine.
  3.  Add applesauce, coconut milk, and avocado oil and stir to incorporate all ingredients.
  4. Evenly distribute the batter between the two greased ramekins or two muffin molds. If using ramekins, place them on a sheet tray so they are easier to take in and out of the oven.
  5. Place cake batter in preheated oven and back for 25 minutes, or until they pass the tooth pick test (stick a tooth pick in the center of the cake, and if it comes out clean, they are done)
  6. While the cake is baking, you can get started on the first two steps to make the frosting.
  7. In a small sauce pan, combine coconut milk and cassava flour and warm over medium low heat. Stir until it turns into a paste, about 5 minutes. Remove from heat, and transfer to a fridge safe bowl with a lid, and place in fridge
  8. Using a standing mixer with whisk attachment or a large bowl and a hand-mixer, add the palm shortening and maple syrup to the mixer or bowl and whip on high until it is light and fluffy and peaks begin to form. About 10 mins. If it gets too soft and melted, place in fridge for a few minutes to firm up.
  9. By now the cakes should be done. Remove them from oven and let them sit for 5 minutes undisturbed. Then carefully remove them from the ramekins or muffin tray and place on cool rack. You will want them completely cooled before your frost them. If you have time, you can allow them to cool at room temperature, or you can place them in the fridge or even freezer to cool faster.
  10. While the cakes cool, finish preparing the frosting. Remove the coconut milk/flour paste from the fridge, be sure it is completely cooled. Add the paste to the bowl with the whipped palm shorting, and mix until fully combined and fluffy. About 10 mins. 
  11. Once cake is cooled it's time to decorate. Carefully slice the two cakes in half, making four even layers. Begin building your layers. Lay the bottom layer of cake on wax or parchment paper (so you can easily move it to another surface after it's assembled), then add some frosting, then another layer of cake, and so on until you have built your 4 layers.
  12. If you want to be fancy, you can first do a crumb coat. Which means you use a light layer of frosting all over the cake. It is just enough to catch all the crumbs so that you don't see them when it is fully frosted. If doing a crumb coat, place cake back in fridge or freezer to allow the frosting to set before doing the final layer of frosting.
  13. Now you can be as creative as you want. You can simple use a knife and cover the full cake with thick layer of frosting. You could use a piping bag and make a fun design. You could even mix in a little fruit or vegetable juice (a 1/4 tsp or less) to color the frosting. Similar to what I did for Emily's birthday. 
Note; If frosting gets to soft, simply place in fridge or freezer to let it firm up a little. Or if you leave it in the fridge too long and it is hard, use standing mixer or hand mixer, to whip it back to fluffy goodness. 
Note 2.0: The cake and frosting can be kept in fridge for up to 3 days. Which means, you can make the cake a few days ahead and not stress about it as you finish all other preparations. Or maybe you all aren't procrastinators like myself?


Wednesday, December 21, 2016

AIP "Chocolate" Mug Cake (AIP, Paleo, Vegan)


I have a confession to make, I have been sitting on this recipe for months, like before Emily was born months. The thing is, the only time I make this is a special after dinner treat, so I was never able to take a picture of it. I know, super lame. BUT I am sharing this simple mug cake with you now, and promise it was worth the wait. And before you begin to ask if you can sub this flour or that, trust me, I tried it. I have made this many, many times, with many different AIP flour combos, and this is the only combo of flours that I have found works for the perfect fluffy goodness.

As a friendly reminder, AIP treats are still treats, so it's important to limit them and not overdo it. I have made that mistake myself enough to know, it's not work with it.


AIP "Chocolate" Mug Cake


Ingredients


Instructions


  1. Whisk together all dry ingredients into a small bowl or mug.
  2. Add in wet ingredients and stir to fully combined.
  3. Place in microwave on high for 90 seconds. 
  4. Allow to cool for a few minutes (the hardest part)
  5. Enjoy on it's own or topped with some coconut cream.


Friday, March 25, 2016

3-Ingredient Carob Pudding (AIP, Paleo, Vegan)


This pregnancy has brought back my sugar dragon like it's no bodies business. I have done my best to fight it off with veggies and all the good stuff, but sometimes you just need something sweet and chocolaty. Since I have not had any success reintroducing chocolate, carob has become my best friend when the sugar craving comes along. The other thing that is becoming very clear, I am always tired now, guess that is what the third trimester does to you. With this in mind, I often want quick and easy, and this treat meets my needs.


3-Ingredient Carob Pudding

Makes 2-3 servings

Ingredients

  • 1 can coconut milk stored in the fridge over night
  • 2 tablespoons carob powder
  • 1 tablespoon maple syrup

Instructions

  1. Remove the cream from the coconut milk and add to medium size mixing bowl.
  2. Using a hand mixer, whip until it fluffs up.
  3. Sift in carob powder, and add maple syrup. Mix in both with a spoon.
  4. Serve in a bowl or simply eat out of mixing bowl.


Wednesday, December 16, 2015

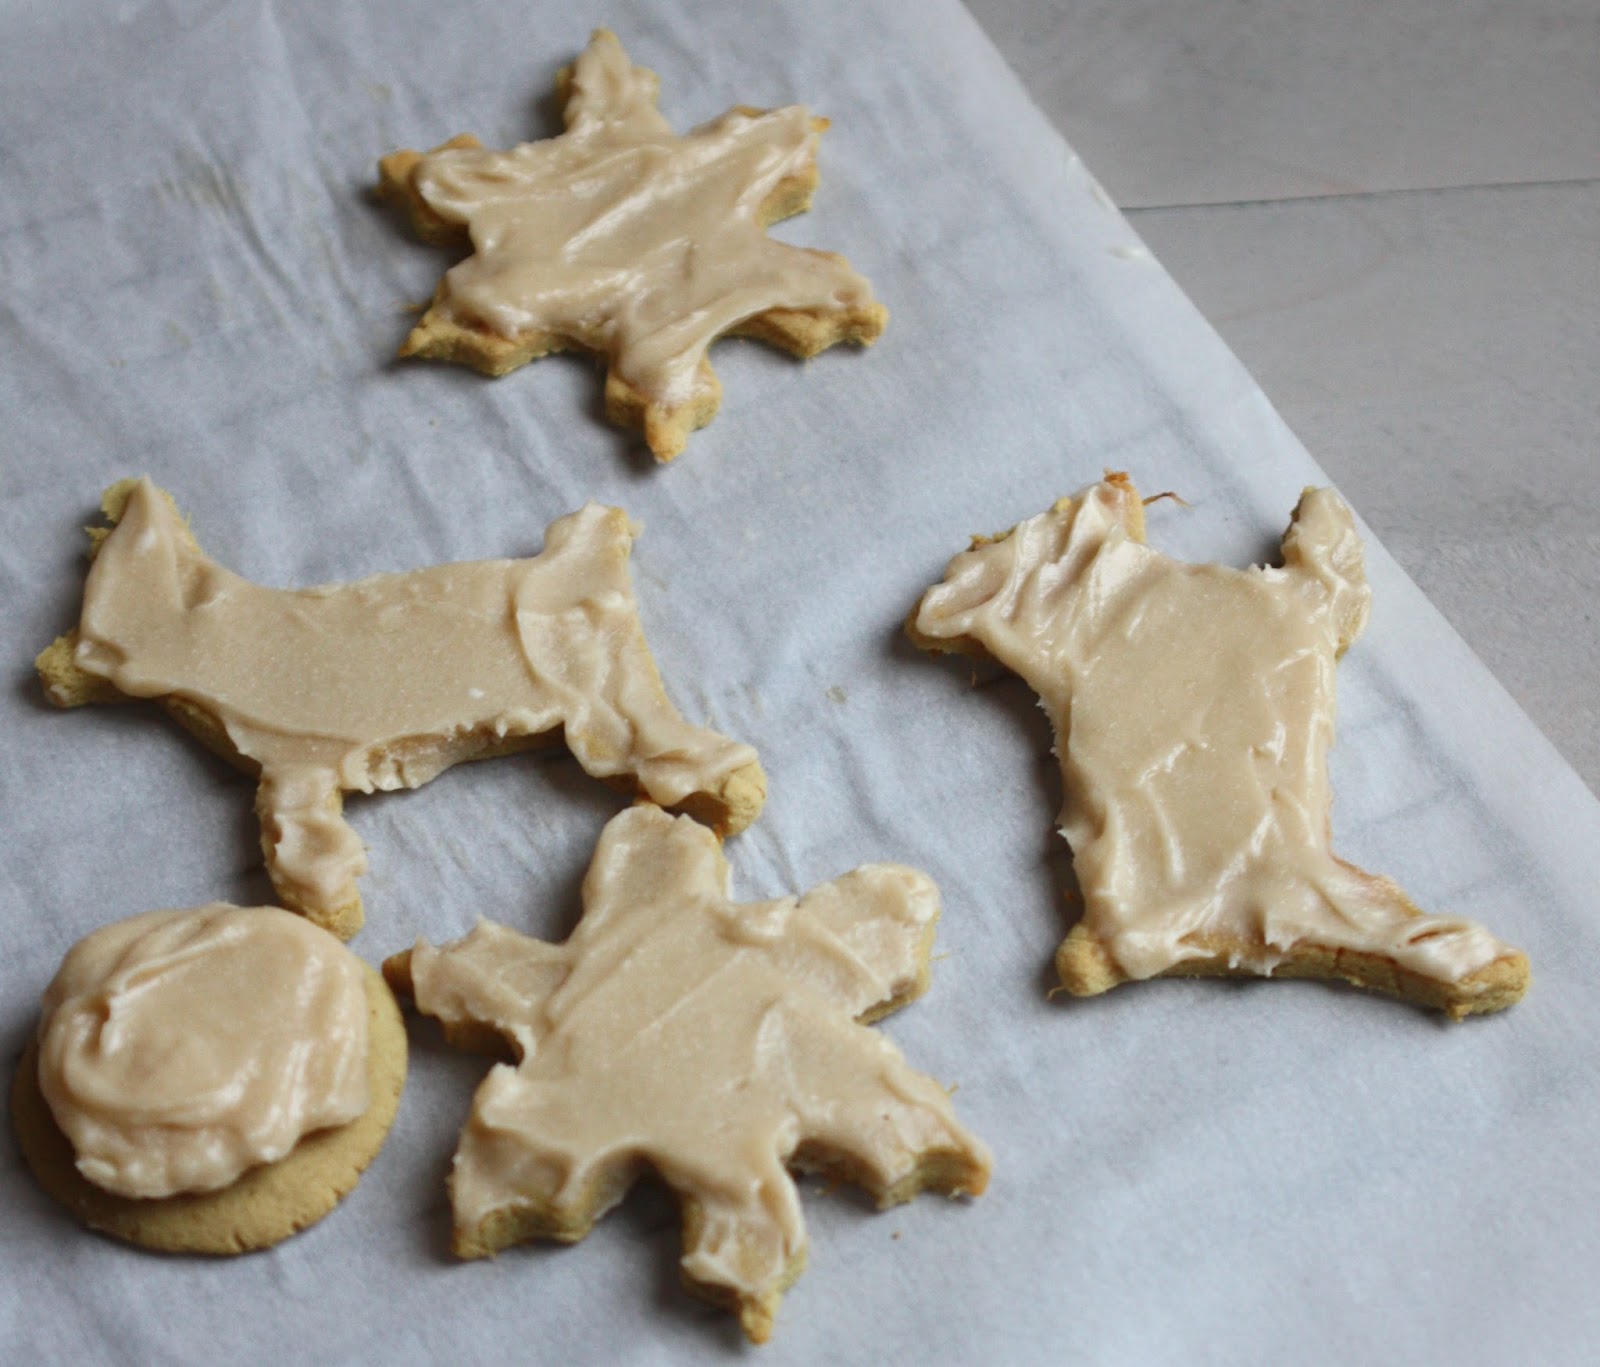
Sugar(less) Cutout Cookies (AIP, Paleo)


Apparently pregnancy has turned me to a baker. Have I mentioned I usually hate baking? I love baked goods, but making them myself almost never turns out. The fact that this is my second cookie recipe in a month that has came out on basically the first try, I have to say it is pregnancy hormone magic.

The fun part about these cookies are that the cookie itself has absolutely no sugar in it. The sweet potato acts as a the sweetener. Also, I share two frosting recipes, both use the same base but are flavored a little different. They do use maple syrup or honey, but if you want to keep the cookies totally sugar free, just leave off the frosting.


Sugar(less) Cutout Cookies


Ingredients


Instructions

  1. In a large bowl whisk together sweet potato, cassava flour, arrowroot starch, coconut flour and baking soda.
  2. Stir in palm shortening and avocado oil, it will be a little crumble still. 
  3. Lastly add in water and stir to fully incorporate. You should have a sticky dough. Form into a ball, wrap in plastic wrap and let cool in fridge for at least 30 minutes.
  4. After 30 minutes, pull dough out and begin to preheat oven to 350 F.
  5. Place a large piece of parchment paper on counter and put unwrapped dough ball on it.
  6. Place another piece of parchment paper or plastic wrap on top of dough ball and roll out dough until it is about 1/4 inch thick. 
  7. Cut into shapes with any cookie cutter. Place cookies 1 inch apart on parchment paper lined cookie sheets. The dough will still be a bit sticky. The best way to move them to the cookie sheets is using a spatula.
  8. Bake in oven for about 12-13 minutes or until the edge just start to brown.
  9. Immediate remove and place parchment paper and cookies on a cooling rack.
  10. Let cool completely and then enjoy on their own or top with one or both of these two frosting options.
Cookies can be kept on the counter in an airtight container for about 4 days.


Frosting Options


Both recipes are developed to cover all cookies. If you would like to make both, half each recipe.

Tangerine Frosting 


Ingredients
  • ½ cup organic palm shortening, softening
  • 5 teaspoons tangerine juice
  • 3 teaspoons cassava flour
  • 2 teaspoons honey
  • 1 teaspoons tangerine zest
Instructions
  • Whisk all ingredients in a small bowl until full combined.


Maple Syrup Frosting


Ingredients
  • ½ cup organic palm shortening, softening
  • 3 teaspoon maple syrup
  • 2 teaspoons cassava flour
  • 1 teaspoons alcohol-free vanilla extract
Instructions
  • Whisk all ingredients in a small bowl until full combined.

Thursday, December 3, 2015

Blackberry Jam Thumbprint Cookies (AIP, Coconut-Free Option)


It is currently the holiday time, or as I saw on Instagram the other day "Christmas 1st." This means all things Christmas to me including: lights, Christmas Tree, stockings, Christmas Music, holiday treats, and the Hallmark Channel on 24/7. A few days ago I was enjoying one of the many fabulous movies about ice sculpting or something, and the girl in the movie was teaching her current love interest how to make thumbprint cookies. Being a crazy pregnant lady, I immediately needed the cookies.

I have never actually made them before, so I immediately took to Google. I researched to see what the other amazing bloggers out there have already made, and while there were some great recipes already out there, they all used coconut flour. Personally, coconut flour doesn't bother me, but the hubby does not do very well with it and so for most baking dishes I try not to use it. This recipe just some how magically came together and was just perfect on the very first try. YAY! I used some homemade blackberry jam I had previously made using this awesome recipe by A Girl Worth Saving, but you can use any jam you would like.


Blackberry Jam Thumbprint Cookies


Ingredients


Instructions


  1. Preheat oven to 350 degree F.
  2. Add palm shortening and sugar to a large mixing bowl, and use a hand mixer to whip them together.
  3. Add flour, baking soda and mix with shortening and sugar
  4. Then add vanilla, and water to mixing bowl and stir until fully combined into a sticky dough.
  5. Line a baking sheet with parchment paper.
  6. Using a tablespoon, scoop out dough and rolling into a small ball. Place on baking sheet, and press down with palm to slightly flatten. You want it to be about half the size of the ball. Using your thumb, make a big thumbprint in the middle of the cookie.
  7. Fill the thumbprint with about a ½ teaspoon of blackberry jam,
  8. Repeat until dough is gone. This recipe makes about 18 cookies.
  9. Bake in preheated oven for 13 minutes.
  10. When done remove from oven and take parchment paper of pan and place on cooling rack.
  11. Now, you must let them cool for at least 10 minutes, yes I know that is the hardest part. However, these must cool for them to set, otherwise they will fall apart if you eat them right of the pan.
  12. Enjoy! They should last up to 5 days on the counter in a airtight container, if they make it that long.